home aboutus etsyshop contact Image Map
Showing posts with label home decor. Show all posts

Sunday, November 16, 2014

12 Days of Christmas Giveaway: Day 2

Welcome back to Day Two of our Giveaway!
Let's not waste any time...

Today's winner will also receive an 8x10 print of their own choice from Kim Bradica Designs
 *Please note that this print will come as a PDF file for you to print at a print shop of your choosing.
Kim has lots of fun holiday and family friendly prints to choose from!
You can find Kim Bradica Designs on Facebook, Pinterest and Etsy!


Next, we have Juniper Tree Skin Care giving away this Chamomile Body Cream.  Doesn't that just sound delicious?  And pretty too.  This would make a great gift set for any mom, teacher or friend!
You can find Juniper Tree Skin Care on Facebook,  Pinterest, Twitter, Google+ , Instagram and their website.
Be sure to check out their shop to see what other wonderful lotions and butters you can find!


Lastly, we again have the shop, Perfectly Organized.  Our lucky winner will win a 2015 personal calendar that's cute enough to hang on your office wall! Be sure to check out their shop; there are plenty of organizational helps to choose from.


You can find Perfectly Organized on Facebook and Etsy!

If you missed yesterday's giveaway, be sure to check it out and enter HERE;

a Rafflecopter giveaway


 photo kadydidSIG1_zps512264ed.png

Saturday, November 15, 2014

12 Days of Christmas Giveaway: Day 1

Oh. My. Gosh.
It is FINALLY here!!  
Day 1 of our 12 Days of Christmas Giveaways.  
Are you as excited as I am?

Just a reminder that each of these giveaways (Days 1-12), there will be one winner.  
So, in total, we will end up with 12 different winners.

Let's get this party started, shall we?

Up first today, we have the shop, Perfectly Organized.  Our lucky winner will win a reading log/journal to help you keep track of all those great books you want to get your hands on.  You can also quickly jot down any great quotes you come across so you can find them easily! Be sure to check out their shop; there are plenty of organizational helps to choose from!  
You can find Perfectly Organized on Facebook and Etsy!


We also have the shop, Celine and Kate.
Today's winner will receive this gorgeous 16x16 metallic leather monogrammed pillow (with the monogram of your choice, of course!).  Seriously drooling over this.
You can find Celine and Kate on Facebook and Etsy!

And last, but not least...today's winner will also receive this darling Christmas hoop from Miss Tweedle Crafts.  I am dying to get my hands on one.

Her hoops are darling and she does quite a few custom hoops to match pretty much anything you want!

You can find Miss Tweedle Crafts on Facebook, Instagram, Twitter, her Blog and Etsy!

So.  What do you do now?  Follow all the Rafflecopter prompts that you wish!  There are plenty of way to enter available; choose as many or as few as you'd like.  Good luck - and be sure to come back tomorrow for another chance to win a new set of prizes!!

Click HERE for Day 2's giveaways!

a Rafflecopter giveaway


 photo kadydidSIG1_zps512264ed.png

Thursday, October 10, 2013

Etsy Shop Spotlight: Arrows & Apricots

Happy Thursday!

This week, I want to introduce you to a brand new Etsy shop,

 Their shop is all about fun things to hang on your wall, or decorative pieces for your home.

For starters.  How fun is this witch print?  
It would be a great addition to anybody's Halloween decor!

They also have several different glittered word banners.  
I love this banner for an outdoor, rustic wedding!

And I think these hand painted wood signs would be a perfect Christmas gift for a couple's 1st Christmas together.

Be sure to stop by their fun little store! 
 I already have my eye on an item (or two!) 
that I'm pretty sure I need for upcoming holiday decor!

Thursday, December 6, 2012

12 Days of Christmas Giveaway Day 10

Day 10

Almost to the end.  Can you believe it?  This has gone by fast!!
I am really excited about today's giveaways!  
It's all about home decor stuff, and who doesn't love pretty stuff for their home?

Kim of {Kim Bradica Design} is giving away an 8x10 digital Christmas print of the winner's choice.

Here are just a few of the options to choose from.  You can head over to her shop to check out all the other Christmas prints she has to offer.  The "Let it Snow" one below is my personal favorite.
**Keep in mind that this is for a digital print only; meaning Kim will email you the pdf file for the print of your choice, and you can then have it printed at your favorite print shop.**

And then, we have Cindy from Celine & Kate.
This Etsy shop is brand new to me, and I am head over heels in love with it.
This shop offers so many fun, stylish items for your home, such as the pillow, table runner and placemats shown below.  I want them ALL.
Today's lucky winner will get a $30 gift certificate towards any purchase from Celine & Kate.
Yes.  Once again, I'm jealous.

Best of luck!  One lucky person is going to have some new pretties for their home real soon!


Friday, September 14, 2012

Magnetic Memo Board

Wow!  Welcome to all of our new blogger friends!  I hope that now the big giveaway is over you'll stick around and play! :

Since we've been turning the office into a nursery, my boys kept asking me when I was going to "paint their room". Well. I wasn't going to paint their room (it really doesn't need it!), but I did decide to freshen it up a little bit. After all, it was still pretty babyish, and it didn't seem fair that baby sister was getting all the new stuff!

So, out went all the zoo animals and in came the dinosaurs! One thing I wanted to add to their room was a memo board to hang pictures on. Off  I went and bought 2 14x14" magnetic dry erase boards and 2 14x14" cork boards (just like the ones shown below via Amazon).  And, after perusing Fabric.com for quite awhile, I found some super cute dinosaur fabric that I not only loved, but matched the boys room as well. 

 For all of you non-sewers - there was no sewing whatsoever involved in this project AND it took me less than an hour. Here's what I did:

First, I cut my fabric.  Since my boards were 14" square, I cut my fabric 17" square so that I would have enough edging to wrap around the sides and to the back.
Then, using spray adhesive, I glued the fabric on to the boards. 
Had I had an ounce of patience and/or forethought, I would have marked my fabric before gluing it on the boards to ensure it was on straight and even.  It all turned out okay; I just realized that taking that extra step would have made my life a tad easier.

Smoothing out the fabric was an excellent job for my little helper!

I didn't take photos of the last step, but all I did was use Okay To Wash It fabric glue to glue the fabric to the edges and the back of the boards.  If you haven't tried this glue already, it's awesome!! It's what I use to "sew" my husband's scouting patches on his uniform.

The very, very last step was adhering the fabric trim to the front of the boards.  Yes, I do kind of wish I had just sewn those on, but again, it really turned out fine just using the fabric glue.  The strips are 1" wide by 17" long.

And there you go!  A super cute memo "board" with two magnetic sections and two cork board sections waiting for photos of 2 very cute little boys to be hung on them.


Thursday, May 10, 2012

Artwork/Photo Gallery

My friend Rachel over at {Family Ever After} is co-hosting a monthly "Pinspired Rewired" competition.

This month, the theme is Washi Tape.  Have you seen washi tape yet?  SO much fun!  Basically it's masking tape, only with fun, colorful designs on it.  Lots of fun.  Anyway.  I have this project that (embarrassingly enough) I have been "working" on since January.  Originally, I wanted it to be a photo gallery in my boy's room with large photos of them hanging from it with cute clothes pins that I was decorating with paper and Mod Podge.  Okay.  Well those clothes pins were taking way too long for me.

And then I found this on Pinterest:

Super cute clothes pins covered in washi tape, originally from {The Little Pink Studio}.  SO much easier than scrapbook paper and mod podge!!

So, I ordered some super cute washi tape from {Pretty Tape} on Etsy, and pulled out some of my super cheap clothes pins purchased at Wal-Mart.


All it took was one strip of tape over the top of the clothes pin.  Took me 30 seconds to do all 4.

And now, we have a fantastic art display in my children's room.  Remember how I said I wanted it to showcase photos of my boys?  Well, Brychan has too many "treasured" pieces of art from preschool that he can't bear to part with yet.  So, until school is over, we are using it for art.  Once summer hits, photos of different sizes will be hung up there instead.


And the wire everything is hanging from?  It's a flexible shower rod from IKEA, which cost $14.99, and took my husband all of 5 minutes to hang.  It's perfect, and I love it!


Be sure to check out the Pinspired and Rewired contest!  I'm sure you'll get lots of fun ideas or decide to jump in and participate yourself!  It was the perfect motivation for me to finish this project that was taking ridiculously too long! :)


Wednesday, January 18, 2012

Project Flashback #2

Our main bath was an eyesore for a long time. I had been s-l-o-w-l-y been trying to redo it; when you're on a super tight budget, it makes it a little bit harder. But, last summer, with some help from my sister, we managed to make some improvements.

Here's what we started out with.  The lovely mirror took up that entire wall.  My husband hated it.  And, stepping out of that shower was a bit of a shocker too.

Ugly blinds (which unfortunately are still there...)

And just all around drab.  Blah.
I wanted this bathroom to be fun, since it's the bathroom my boys use.  When I started redoing it, we were starting to think about potty training, so I wanted the bathroom to be fun and inviting.  It's a tiny room so there's not much to work with.

And now, this pirate themed bathroom is what we have! We still need to redo the flooring, eventually change the vanity and update the shower, but I like this MUCH better. And the best part? I only spent $150 for the whole thing. Paint, mirror, pictures, decor and Pottery Barn linens. Yay me!!

I think my favorite part is these two little hooks we put in behind the door so the boys can reach their own towels.  And they love that they can get them and put them away all by themselves!

Wednesday, January 11, 2012

Project Flashback #1

I figured that since I am so super busy with all my current, time-consuming-projects-that-make-me-too-busy-to-do-quick-and-easy-to-share-projects, I would share a few of my past projects with you.  These are all pretty old, and I originally posted them on my family's personal blog.

This first one is from last summer.

One of the homes that my husband had listed for sale (he's a Realtor) had this dresser with a matching nightstand in it that had been abandoned. I had been looking for a big dresser for my boys to use and was so excited when I found out I could have the set.

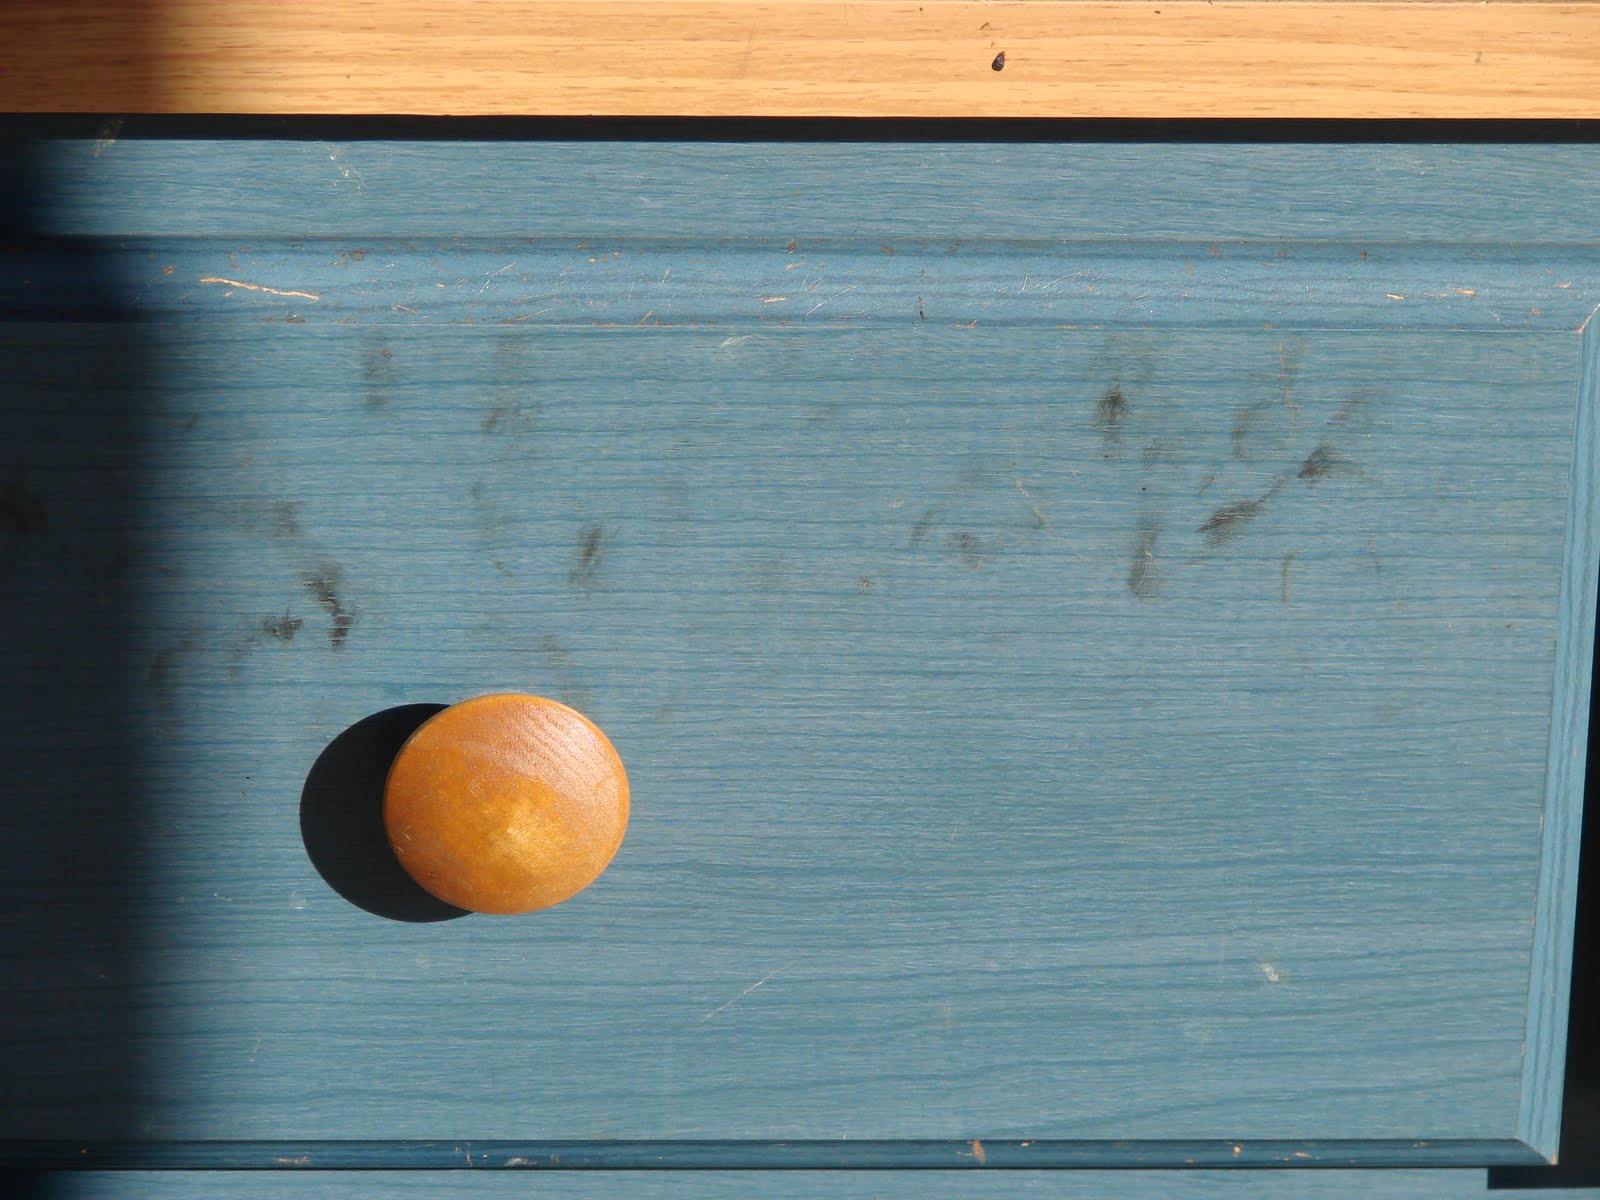
This is what it started out looking like. It was nasty, nasty, nasty.

I'm assuming that a teenage boy had it (judging not only by the look of the dresser/nightstand combo, but also by the looks of the room they came from).  And I have to admit that I was a little afraid of finding nasties (any kind of nasties...let your imagination run wild!) in this dresser somewhere.  Much to my relief, I found nothing inside but a bunch of dust bunnies.


After a coat of primer, two coats of paint, new pull handles and less than $50.00, this is what it looks like now. It's still not perfect, but it's at least clean and usable. And nice enough that I was okay putting it in our bedroom since the boys have no room whatsoever in theirs.

This was my first solo attempt at a big refurbishing project.  Did I do okay for a newbie?  I did learn a few things along the way, that's for sure!

Wednesday, October 19, 2011

A Bit of Organization

A few weeks ago, I decided I had had enough of the mess all over my refrigerator. You know how it goes...a random collection of magnets, children's artwork, doctor appointment reminders, random photos...everything gets put on the fridge. So after seeing this idea on Pinterest, I decided to go for it!

All it took was a package of 4 12"x12" cork board squares, extra adhesive, some push pins and the inside of 2 of my kitchen cabinets!

At JoAnns, I had the option of the normal cork board (light brown) or this darker color. The squares measured 12"x12" which were a tad too long to be stacked on top of each other and still fit. A quick measurement and cut with a utility knife, and I had a perfect fit! The package of cork board does come with self adhesive, but it was nowhere near strong enough. I don't know how many times the cork sheets fell off before I got around to getting better adhesive. All I got was a small roll of double sided, wall safe, adhesive from Wal-Mart. It's worked like a charm!

I added some adorable pushpins from Sideproject Designs on Etsy, and started transferring everything from my fridge to the inside of my cupboard.
I love it! And my refrigerator is so much happier! This particular cupboard is right next to the fridge and the phone. So, all of the emergency numbers and information for babysitters (including instructions for child/infant CPR and the Heimlich maneuver) is right there near the phone.
Now to get the rest of the house so organized!

Tuesday, September 20, 2011

Refurbished Vase

Many, many moons ago, this (ahem) lovely decorative vase was given to my husband while serving his mission in the San Francisco area. He tried giving it to his mother, saying the gift giver meant for her to have it, but a couple of years ago, she gave it back to him. It is his after all.

So, it's been sitting in my garage ever since.
It's a little too ornate, pink and detailed for my taste. BUT. I thought it would make an awesome decorative piece for Halloween!! Nice and gothic looking...perfect for my holiday decor.
So, with a little help from this guy...
I now have this!
And to be perfectly honest,
I'm really starting to love it as a staple piece somewhere in my home!

I love how it now looks almost like cast iron,
and much of my decor is black...

What do you think?
Until I decide, it will sit happily on my dining room table as an autumn piece. When Halloween gets closer, I'll add a few spider webs to it and surround it with some apothecary jars and other fun tidbits.

Friday, September 9, 2011

Reading Corner

My boys love books. I love that they love books! They have always had a corner in their room that is full of large, over stuffed pillows, and when I saw the idea to use spice racks from Ikea as book shelves, I knew it would be perfect!!

So, yes. These spice racks were $3.99 each (I was lucky enough to snag the last 2 that my Ikea store had, which is great since it was an hour drive for the sole purpose of getting them!). So for a total of $8, we have perfect, child friendly book shelves in their new reading area. I'm sure many of you have seen this all over blog-land; I've seen it in quite a few different places.
When I find the time, I plan on painting them so they match the rest of the room.
Excuse the horrible lighting! We have their window covered to block sunlight and heat. It works great, but makes for horrible photos.
The entire little reading corner. I have high hopes that it will be used often! I have another wonderfully inexpensive Ikea find that I will be adding to their room decor next week, so stay tuned!

Linking up here, here and here!

LinkWithin

Related Posts Plugin for WordPress, Blogger...